No Database Message
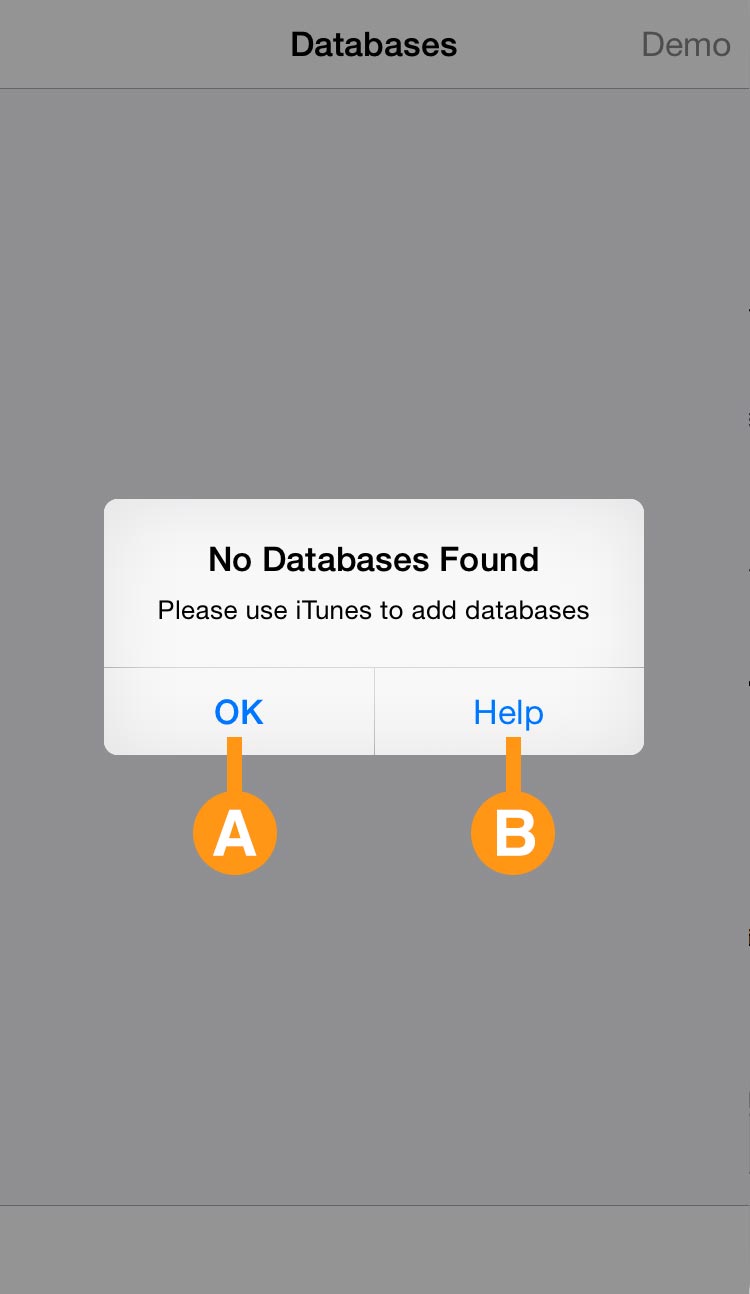
Launching the HydraDB application shows a message dialog indicating that no databases are present.
A - OK
Returns the user to the empty databases list. To add archives to ColourComics:
1) Connect the iOS device to a computer using your Dock Connector to USB cable.
2) Open iTunes on your computer.
3) Select your iOS device from the Devices section on the left side of iTunes.
4) Click the Apps tab and scroll down to the bottom of the page.
5) Select the HydraDB app, then click the Add button to copy any .cbr, cbz, or .pdf files into the Documents list.
OR use Safari to transfer a database file:
1) Host the database file on a website.
2) Go to the hosted file using Safari. An "Open In..." link for the file will appear when the file is selected.
3) Select the "Open In..." link and choose HydraDB as the app to open the file with.
4) The HydraDB app will open and the database file will be copied over.
OR use Dropbox to transfer files:
1) Copy the database file to add to your Dropbox account.
2) Open the Dropbox application on the same device as the HydraDB app.
3) Navigate to the location where the database file is stored on your Dropbox account.
4) Download to a file to the local device by selecting it.
5) When downloaded, select the arrow icon from the top menu bar (Send To menu) and choose HydraDB.
B - HydraDB Help
Clicking the Help link opens Safari and loads the HydraDB documentation page.
Database List
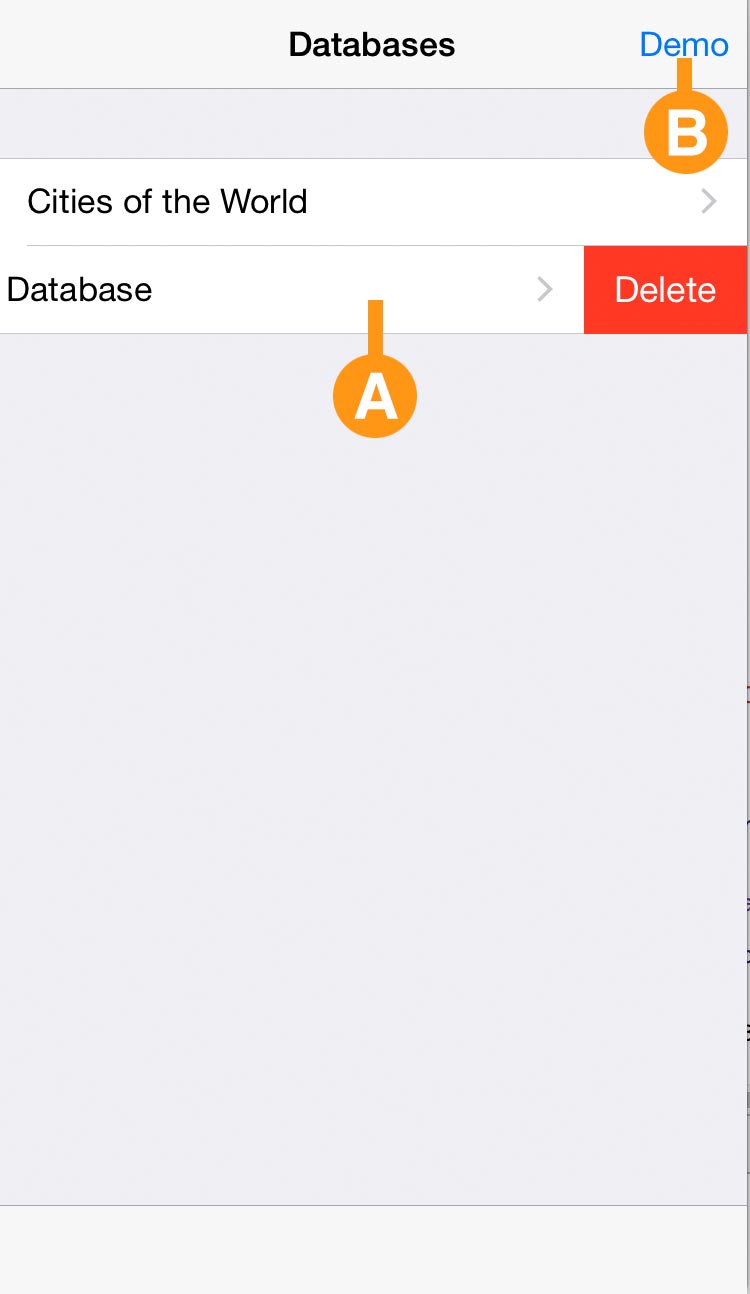
If any databases have been added to the application they appear in a list by title.
A - Database Entry
Tapping on a database list entry opens the database by displaying the search view (see the section titled "Database Search View" below).
A database entry may be deleted by swiping left on the entry to reveal the delete button. Tapping the delete button removes the database permanently.
B - Install Demo Database
Installs a demonstration database titled "Cities" that will immediately appear in the list of databases.
Database Search View
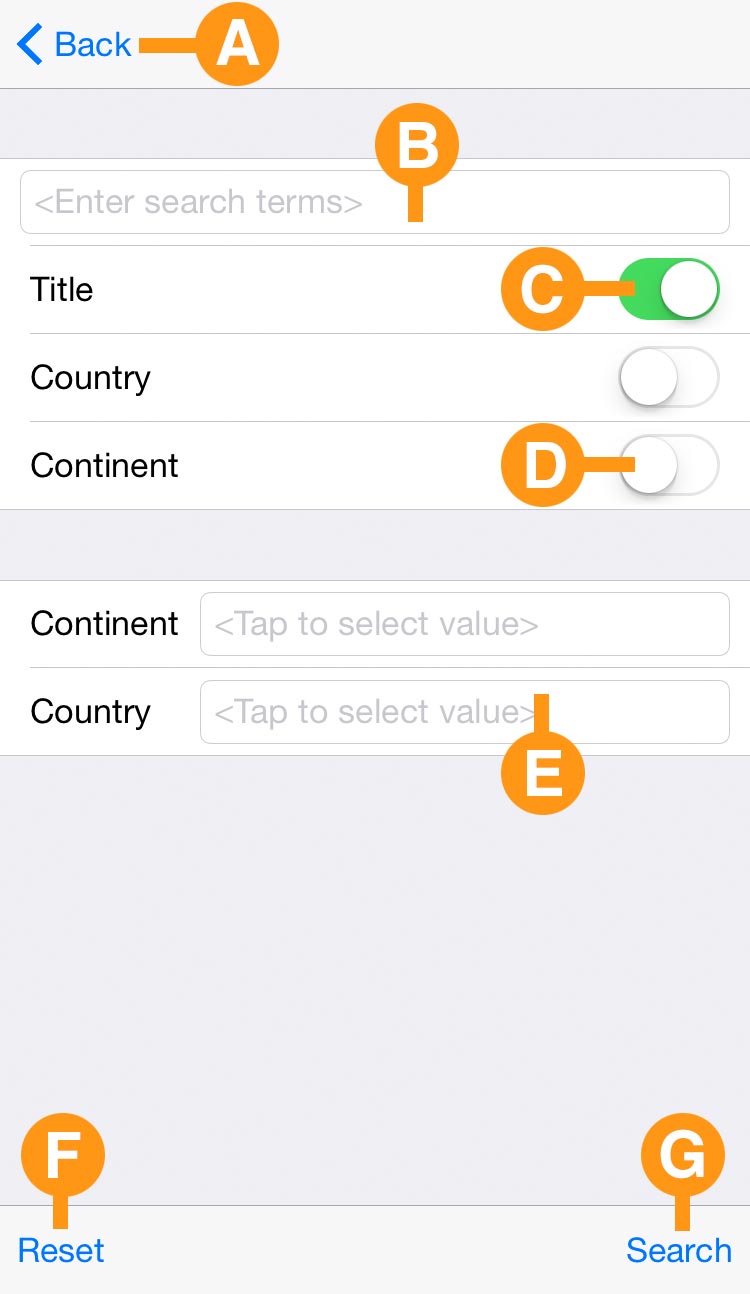
Tapping on the Database Entry (see section titled "Database List" above) displays the search view for the selected database.
A - Back
Returns to the Database List.
B - Database Search Text Field
In conjunction with the Search Field Selectors (see section below), the Database Search Text Field allows the construction of a search user-specified terms.
C - Search Field Selectors
The Search Field Selectors control what database fields the search terms entered in the Search Text Field (see above) with apply to.
For example, if a search term "France" is entered into the Search Text Field and the "Country" field is selected, only cities with country matching "France" will be displayed in the result set.
C - Disabled Field Selectors
Disabled Field Selectors are not used as part of a search until enabled by the user.
E - Search Field Popups
Search Field Popups are convenience user interface controls that access a finite list of possible values for a field.
Tapping a field displays a view that allows the user to select values to search for within the associated database field (see section titled "Search Field Options" below).
F - Reset
Resets the search form, changing all values back to their default.
G - Search
Perform a search subject to the constraints entered into the search form (see section titled "Search Results View" below).
Search Field Options
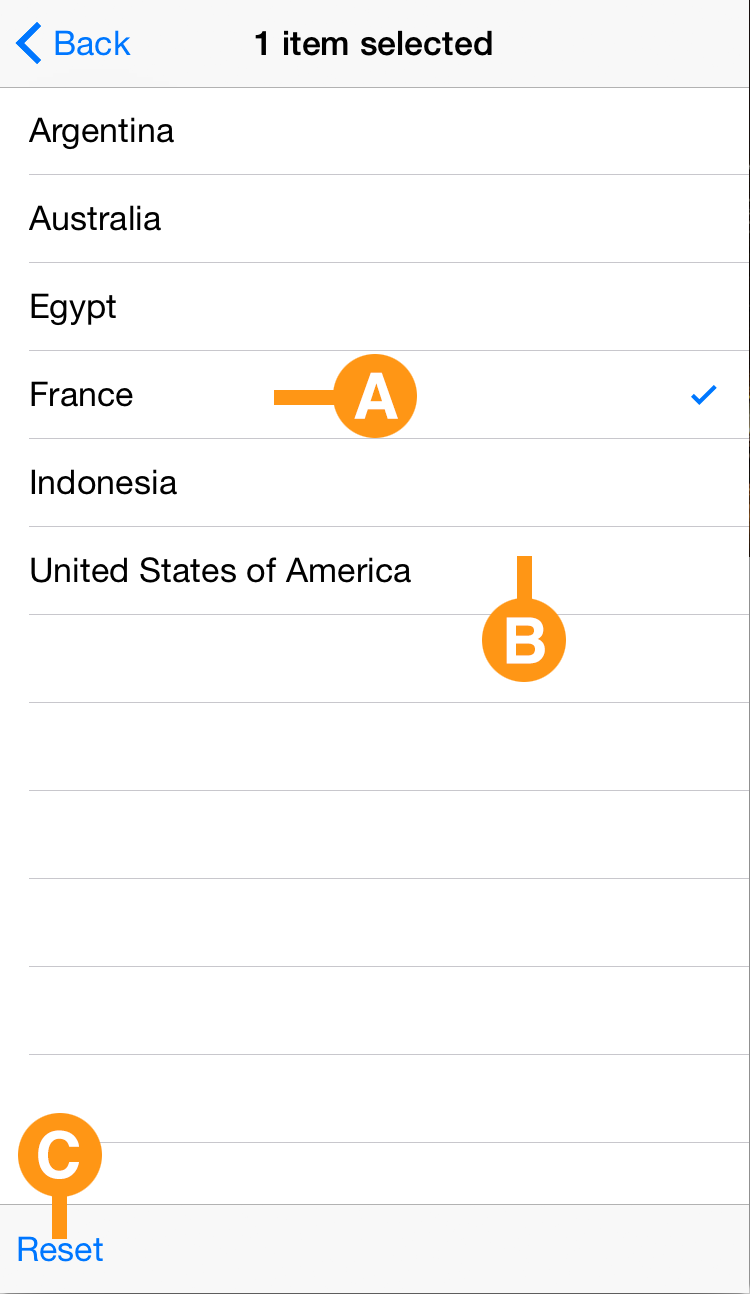
When a Search Field Popup (see above) is tapped, an interface for selecting from a list of options is displayed.
A - Option List
A list of all possible options for the popup is displayed, including a title at the top of the view that indicates how many options have been selected.
B - Selected Option
If an option has been selected, a small checkmark will be shown at the far right side of the option's cell. To select or deselect an option, tap the option cell.
C - Reset
Deselects all options in the Option List.
Search Results View
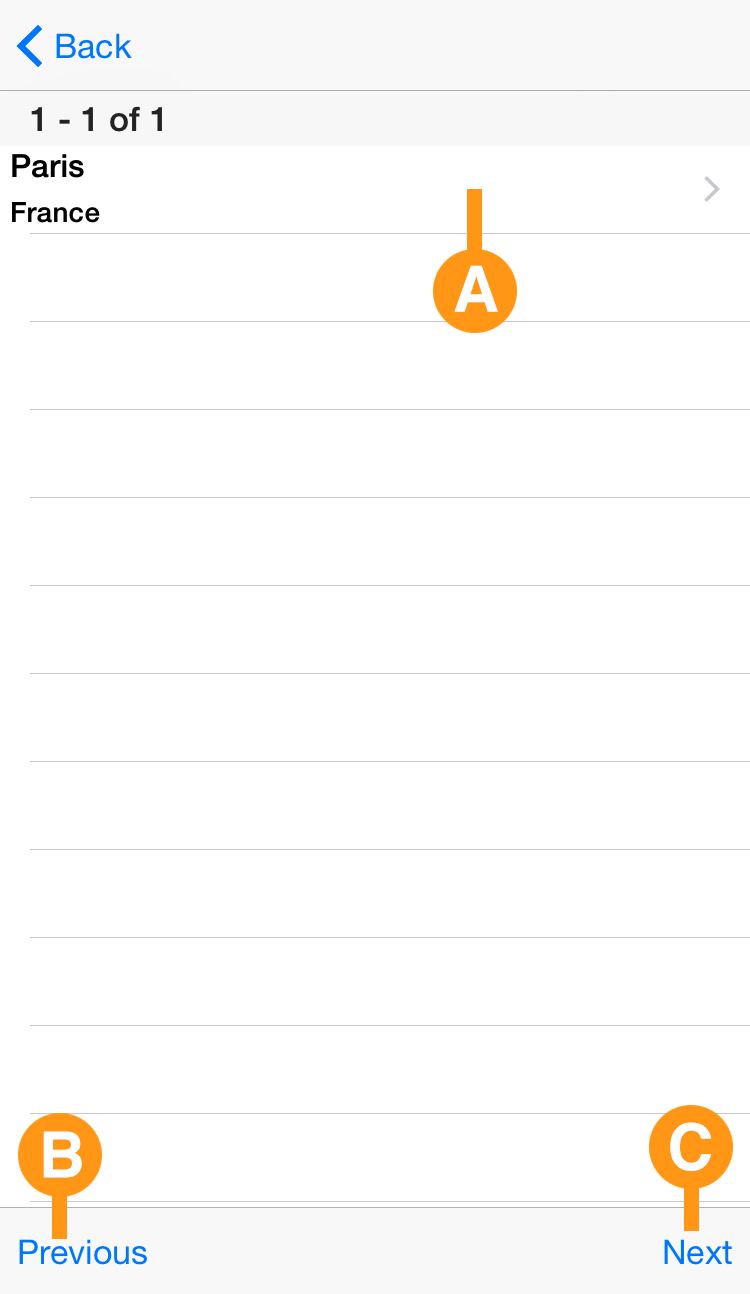
When a search is performed from the Database Search View a list of matching results is displayed.
A - Results List
A list of all records matching the search criteria used is displayed. Tapping the cell of a result entry opens a Result View with details of the record (see section titled "Result View" below).
B - Previous
The Results List is paginated to no more than 100 results per page with controls to allow moving between pages. Previous returns to lower page numbers if the page number is greater than 1.
C - Next
Displays the next page of results, if any.
Result View

When a search result is selected from the Results List of the Search Results View, a view displaying further information about the record selected is shown.
A - Record Details
Information about the record is displayed, including the value of all specified fields and images, if any.
If there are multiple search results in the Results List, the record displayed can be changed to the next with a right-to-left swipe gesture, or the previous with a left-to-right swipe gesture.